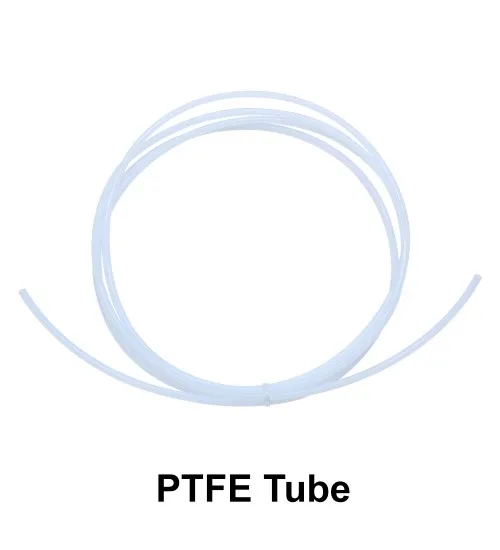
Understanding the Importance of PTFE Tube
The PTFE (Polytetrafluoroethylene) tube in your Tevo Tarantula 3D printer plays a crucial role in the printing process. This seemingly simple component is responsible for guiding the filament from the extruder motor to the hot end, where it’s melted and extruded onto the print bed. A high-quality PTFE tube, particularly one designed for high-temperature applications, ensures smooth filament feeding, reduces friction, and prevents common printing issues like jams and clogs. Choosing the right PTFE tube and maintaining it properly are essential for achieving optimal print quality and printer reliability. Regular inspection and timely replacement of the PTFE tube can significantly improve your 3D printing experience, leading to better prints and less downtime. Investing in a reliable PTFE tube is, therefore, an investment in the overall performance of your Tevo Tarantula printer.
Why Replace Your Tevo Tarantula PTFE Tube?
Over time, the PTFE tube in your Tevo Tarantula can degrade due to various factors. High temperatures, the abrasive nature of some filaments, and general wear and tear all contribute to the tube’s deterioration. Degradation can lead to several problems. The internal diameter of the tube can widen or become rough, increasing friction and making it harder for the filament to move smoothly. This can result in under-extrusion, where not enough filament is being pushed through the nozzle, leading to weak or incomplete layers in your prints. Additionally, the tube can become partially clogged with melted plastic or debris, further hindering filament flow and causing printing failures. Replacing your PTFE tube proactively or when you notice these issues can help prevent print quality problems, extend the life of your 3D printer, and keep your projects on track. Regular inspection and replacement, as needed, are key to maintaining the performance of your Tevo Tarantula.
Signs Your PTFE Tube Needs Replacing
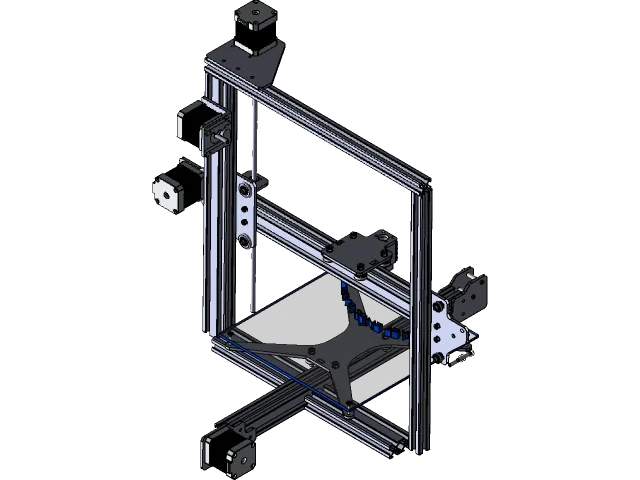
Several telltale signs indicate that it’s time to replace the PTFE tube in your Tevo Tarantula. One of the most common is a decrease in print quality. If you start noticing inconsistent layer adhesion, gaps in your prints, or rough surfaces, the PTFE tube might be the culprit. Increased friction can make it difficult for the extruder to push filament, leading to under-extrusion, or skipping steps. Another sign is frequent clogs. If your nozzle keeps getting blocked, even after cleaning and troubleshooting, a worn or degraded PTFE tube could be the cause. Look for visual clues as well. Examine the tube for signs of wear, such as discoloration, swelling, or deformation, especially near the hot end. Finally, listen to your printer. Unusual noises from the extruder, like clicking or grinding, may indicate that the filament isn’t feeding smoothly, and it may be time to install a new PTFE tube.
Gathering Your Tools and Materials
Before you begin replacing the PTFE tube in your Tevo Tarantula, gather all the necessary tools and materials to ensure a smooth and efficient process. Having everything ready beforehand will save you time and prevent frustration during the installation. The essential tools and materials are listed below. Ensure you have a clean and well-lit workspace, a stable surface to work on, and sufficient time to complete the task without rushing. Taking these preparatory steps will contribute to a successful PTFE tube replacement and help maintain the overall performance of your 3D printer.
Essential Tools for the Installation
To replace the PTFE tube in your Tevo Tarantula, you’ll need a few essential tools. A set of small hex wrenches or Allen keys, typically included with your printer or available at most hardware stores, are needed to loosen and tighten screws on the hot end and extruder. You’ll need a cutter, such as a sharp knife or a dedicated PTFE tube cutter, to make clean, straight cuts to the correct length. A pair of needle-nose pliers are also helpful for handling small parts and maneuvering the PTFE tube. Consider having a digital caliper to measure the tube length accurately, ensuring it is the correct size. Finally, a small screwdriver may be necessary to remove or adjust any components obstructing the process. Having these tools readily available will streamline the installation and reduce the likelihood of complications.
Materials You’ll Need
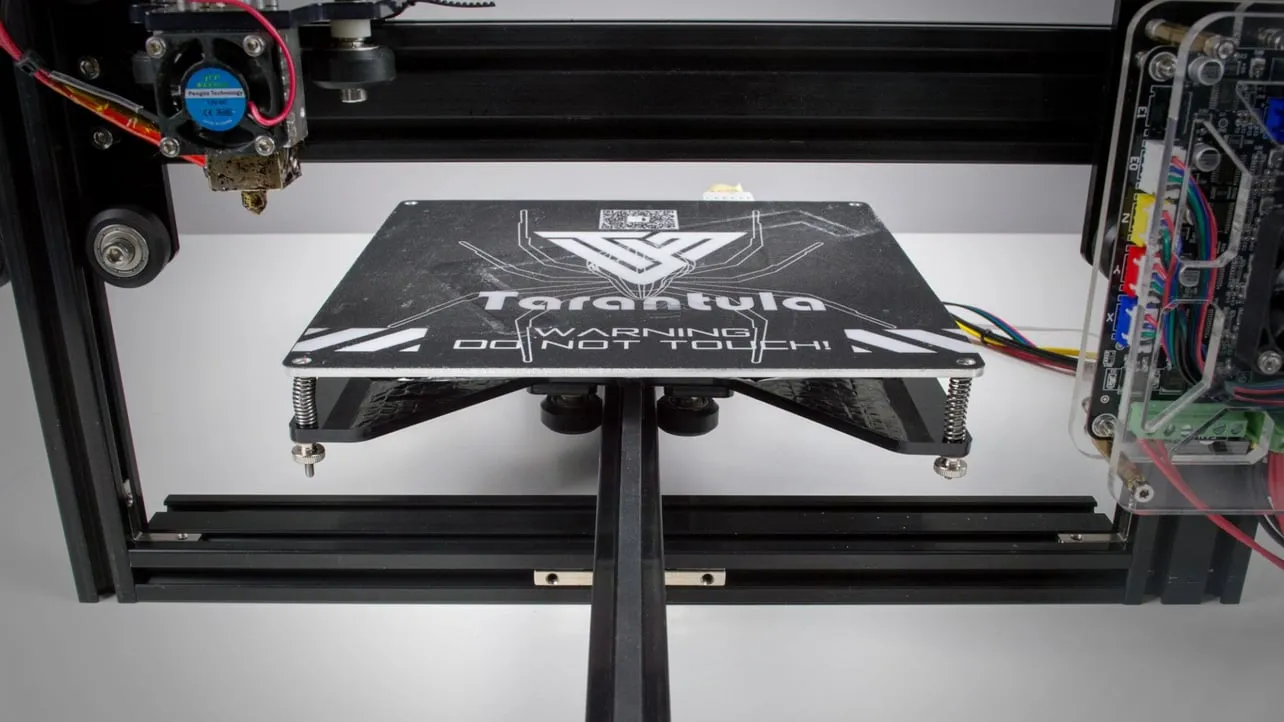
Besides tools, you will need specific materials to replace the PTFE tube. The primary material is a new PTFE tube of the correct size and specifications. Be sure to purchase a high-quality tube designed for 3D printing, capable of withstanding high temperatures. Some replacement kits include additional components. These may include new fittings and couplings to ensure secure connections. It’s always a good idea to have some extra filament on hand to test the printer after the installation. In addition to the tube and potential replacement parts, you may need a small amount of thermal paste or grease if you’re disassembling the hot end components. Gathering all necessary materials will ensure you’re well-prepared and can complete the replacement efficiently.
Step-by-Step Installation Guide
Follow these steps to replace the PTFE tube in your Tevo Tarantula 3D printer. This guide provides a clear and concise process for removing the old tube, preparing the printer, and installing the new one. Following these steps carefully will ensure a successful replacement and help maintain the performance of your 3D printer. Always refer to your printer’s manual for specific instructions, as the process may vary slightly depending on the model. If you are not comfortable performing this type of maintenance, it’s advisable to seek assistance from a qualified technician.
Preparing Your Tevo Tarantula for Installation
Before starting the PTFE tube replacement, prepare your Tevo Tarantula. First, ensure the printer is turned off and unplugged from the power outlet for safety. Preheat the hot end to the recommended temperature for the filament you’re using, if any is loaded, to soften it and make it easier to remove. This step is optional. Allow the hot end to cool completely. Remove the filament from the extruder by manually retracting it or using the printer’s unload function. Position the printer to provide easy access to the extruder and hot end components. This setup process will make it easier to perform the installation efficiently and safely.
Removing the Old PTFE Tube
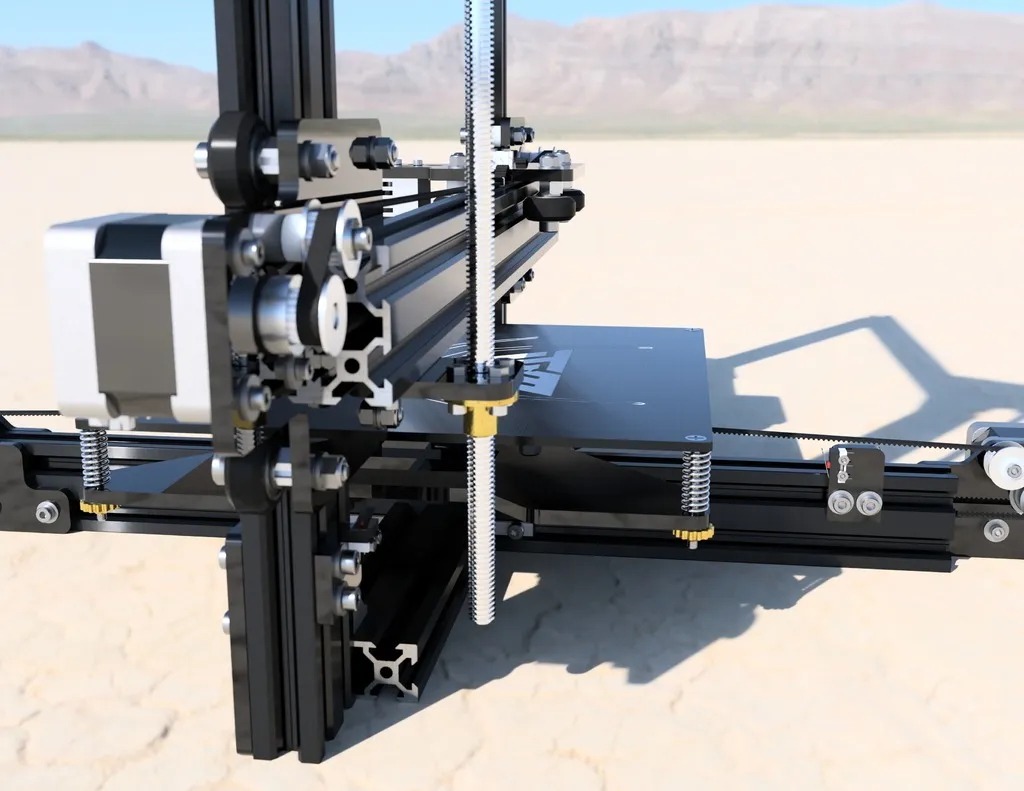
To remove the old PTFE tube, begin by carefully disassembling the hot end and extruder components. Locate the fittings that secure the PTFE tube to the hot end and the extruder. Use the appropriate hex wrench to loosen and remove the fittings. Once the fittings are removed, gently pull the old PTFE tube out of the hot end and extruder. If the tube is difficult to remove, try gently wiggling it while pulling. Inspect the removed tube for any signs of wear, damage, or clogs. Clean any debris from the hot end and extruder components to prepare for the new tube. Take your time during this step, to avoid damaging other components of your 3D printer.
Installing the New PTFE Tube
With the old tube removed, you can install the new one. Make sure the ends of the tube are cut squarely and cleanly. Insert the new PTFE tube into the hot end, pushing it in until it seats firmly against the nozzle. Ensure it goes as far as it should to provide the best performance. Reinstall the fittings, tightening them securely to prevent leaks. Repeat the process for the extruder end of the tube, making sure it’s properly seated and secured. Double-check that the tube is correctly positioned and aligned with the hot end and extruder. After installing the new PTFE tube, proceed to the testing and calibration step to ensure it’s functioning correctly.
Securing the Tube
Properly securing the PTFE tube is crucial for preventing leaks and ensuring smooth filament feeding. Use the appropriate fittings to connect the PTFE tube to the hot end and extruder. Make sure the fittings are tightened securely, but avoid over-tightening, as this could damage the threads or the tube. Verify that the tube is seated correctly within the fittings and that there are no gaps or obstructions. After securing the tube, gently tug on it to ensure it’s firmly in place and won’t come loose during printing. Proper securing of the PTFE tube helps to minimize print defects and potential printer failures.
Testing and Calibration
After installing the new PTFE tube, it’s essential to test and calibrate your 3D printer. Start by preheating the hot end to the appropriate temperature for your filament. Load the filament and check if it feeds smoothly through the tube and nozzle. Run a test print, such as a small calibration cube or a test model, to check for any issues like under-extrusion, over-extrusion, or clogs. Observe the first few layers of the print to see if the filament is adhering to the bed correctly. Calibrate the extruder steps if needed, to ensure accurate filament extrusion. Careful testing and calibration will confirm that the PTFE tube is installed correctly and that your printer is ready for use.
Extruder Calibration after PTFE Tube Replacement
After replacing the PTFE tube, you may need to calibrate your extruder to ensure the correct amount of filament is being extruded. This is especially important if you notice inconsistencies in your prints, such as under-extrusion or over-extrusion. To calibrate your extruder, start by marking a point on the filament a specific distance from the extruder. Then, instruct the printer to extrude a set amount of filament. Measure how much filament was actually extruded and compare it to the amount the printer was instructed to extrude. Adjust the E-steps value in your printer’s firmware or slicer settings to compensate for any discrepancies. Calibrating the extruder will optimize filament flow and improve print quality.
Troubleshooting Common Issues
Even after replacing the PTFE tube, you might encounter some common printing issues. Filament feeding problems, such as the filament not feeding smoothly or jamming, can often be resolved by ensuring the tube is properly seated and secured, and there are no obstructions. If you experience clogging, try increasing the nozzle temperature slightly or using a cleaning filament to remove any debris. If print quality issues persist, check your printer settings, like retraction settings and print speed. If you have any doubts, double-check the installation and make sure all connections are secure. Troubleshooting these issues can help identify and correct any problems, ensuring smooth and reliable printing.
Addressing Filament Feeding Problems
Filament feeding problems are one of the most common issues after replacing the PTFE tube. If the filament isn’t feeding smoothly, check the tube for any obstructions or kinks. Make sure the tube is correctly aligned with the hot end and extruder. Ensure the extruder motor is gripping the filament properly. If the extruder clicks or grinds, it may indicate that the filament can’t move freely. Reduce the printing speed or increase the nozzle temperature to help improve filament flow. Furthermore, inspect the filament spool for any tangles or snags that could be hindering the feeding process. Resolving these issues can improve your 3D printing experience.
Dealing with Clogging
Clogging can occur even with a new PTFE tube. If your nozzle becomes clogged, try increasing the hot end temperature slightly to see if that helps to melt and extrude the blockage. You can use a thin needle or a cleaning tool to remove the obstruction. Another approach is to perform a cold pull, where you heat the nozzle, extrude some filament, and then cool it down to remove any residue. Check that the PTFE tube is properly seated and that there are no gaps where plastic can accumulate. By taking the time to understand and address the root cause of clogging, you can keep your 3D printer running smoothly.
Maintaining Your PTFE Tube
Proper maintenance of the PTFE tube is essential for optimal print performance. Regularly inspect the tube for any signs of wear or damage, such as abrasions, kinks, or clogs. Ensure the tube is properly seated in the hot end and extruder fittings. Take care to avoid excessive bending or twisting of the tube, as this can restrict filament flow. Maintain a clean and organized workspace to avoid contamination of the tube with debris. Periodically check and clean the hot end and nozzle to prevent clogs. By adopting good maintenance practices, you can extend the life of your PTFE tube and ensure consistent, high-quality prints.
Cleaning Your PTFE Tube Regularly
Regular cleaning of your PTFE tube is crucial to maintain its performance and prevent printing problems. To clean the tube, remove it from the printer and inspect it for any debris or clogs. Use a small cleaning tool, such as a needle or a specialized tube cleaner, to remove any obstructions from the tube’s interior. You can also use compressed air to blow out any remaining particles. Make sure the tube is completely dry before reinstalling it. Be gentle when cleaning the tube to avoid damaging it. Frequent cleaning will keep the tube in good condition and help your 3D printer operate smoothly.
Preventive Measures to Extend PTFE Tube Life
To extend the life of your PTFE tube and minimize the need for frequent replacements, take the following preventive measures. Use high-quality filament and avoid filaments known to be abrasive or that require very high temperatures. Control the printing temperature within the recommended range for your filament. Ensure your hot end is properly calibrated to avoid over-heating, which can degrade the tube. Regularly clean and maintain the PTFE tube as described earlier. Store your filament in a dry and dust-free environment to prevent contamination. Following these preventative measures will help extend the lifespan of your PTFE tube, reduce printing problems, and keep your Tevo Tarantula running efficiently.
