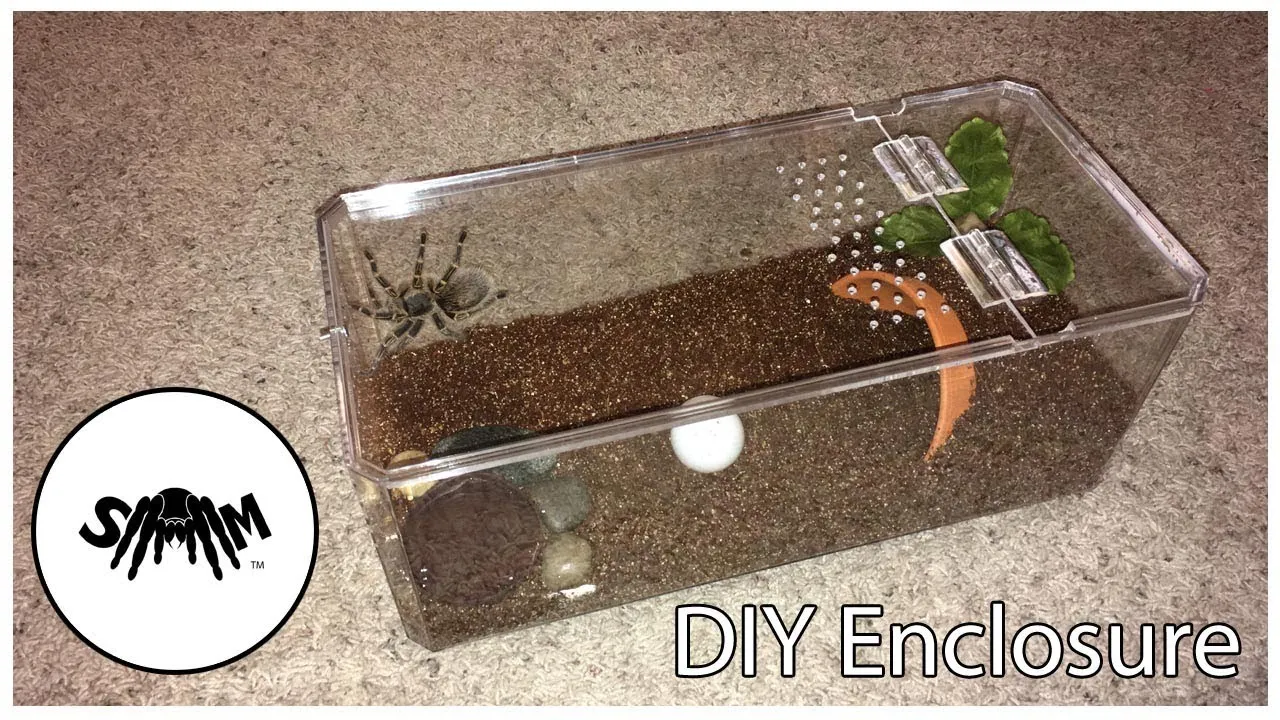
Creating the perfect environment for tarantula eggs to hatch is crucial for successful breeding. A DIY tarantula incubator allows you to precisely control the temperature and humidity, significantly boosting the chances of healthy hatchlings. This guide will walk you through every step of building and maintaining your own incubator, ensuring your tarantula eggs thrive. Whether you’re a seasoned breeder or just starting, a DIY incubator provides a cost-effective and reliable method for promoting the health and survival of tarantula offspring. This setup allows you to fine-tune conditions often not easily achieved with pre-made setups. With this detailed guide, you’ll learn how to give your tarantula eggs the best possible start.
What is a DIY Tarantula Incubator
A DIY tarantula incubator is a custom-built enclosure designed to mimic the ideal environmental conditions required for tarantula eggs to hatch. These conditions include precise temperature and humidity control, crucial for the eggs’ development. Incubators can range from simple setups using repurposed containers to more sophisticated designs with advanced monitoring systems. The primary goal is to create a stable and consistent environment, shielding the eggs from external fluctuations that can harm development. By taking control of this critical stage, you greatly improve the chances of successful hatching and a healthy brood of spiderlings. This approach allows you to tailor the setup to the specific needs of your tarantula species and to adjust the conditions as required.
Benefits of Using a DIY Incubator
Using a DIY incubator offers numerous advantages over relying on ambient conditions. The controlled environment ensures a much higher success rate in hatching, protecting the delicate eggs from temperature swings and dryness that can be detrimental to their development. These incubators provide an environment optimized for growth, which is vital to the early stages of a tarantula’s life. This can be particularly important in environments with inconsistent weather. Building your own allows for customization, adapting to different species requirements, and avoiding the high costs associated with commercial options.
Cost-Effectiveness and Customization

One of the most appealing benefits is the cost savings. Building a DIY incubator generally costs less than purchasing a commercial unit. Moreover, you have complete control over the design, materials, and features, allowing for customization based on your specific needs and the requirements of your tarantula species. This includes the size, heating method, and the inclusion of monitoring equipment. You can also easily upgrade or modify the incubator as needed. This level of personalization ensures that you’re creating the ideal environment for your tarantula eggs, something that might be difficult or impossible to achieve with a pre-made incubator. Many readily available household items can be utilized, cutting costs even further.
Improved Hatchling Survival Rates
A stable and optimized environment directly translates to higher hatchling survival rates. The constant temperature and humidity provided by a DIY incubator minimize the risk of egg desiccation, fungal growth, and other hazards that can occur in uncontrolled environments. The consistent conditions during this sensitive developmental phase dramatically increase the likelihood that eggs will successfully hatch into healthy spiderlings. This advantage is particularly important for species with eggs that are more susceptible to environmental stress. This controlled environment reduces the chance of stress on the eggs, contributing to a healthier brood, ensuring a strong start for the young tarantulas and more successful breeding outcomes.
Understanding the Needs of Tarantula Eggs
Understanding the specific environmental needs of tarantula eggs is key to designing an effective incubator. These eggs are extremely sensitive to both temperature and humidity. Fluctuations outside a specific range can severely impact their development. Therefore, maintaining these environmental parameters is paramount for the eggs’ health. Proper temperature and humidity management helps prevent issues such as premature hatching, egg desiccation, and fungal infections. Researching the specific requirements of your tarantula species will provide the baseline needed to tailor the incubator environment for optimal hatching conditions and promote robust growth.
Temperature Requirements for Tarantula Eggs
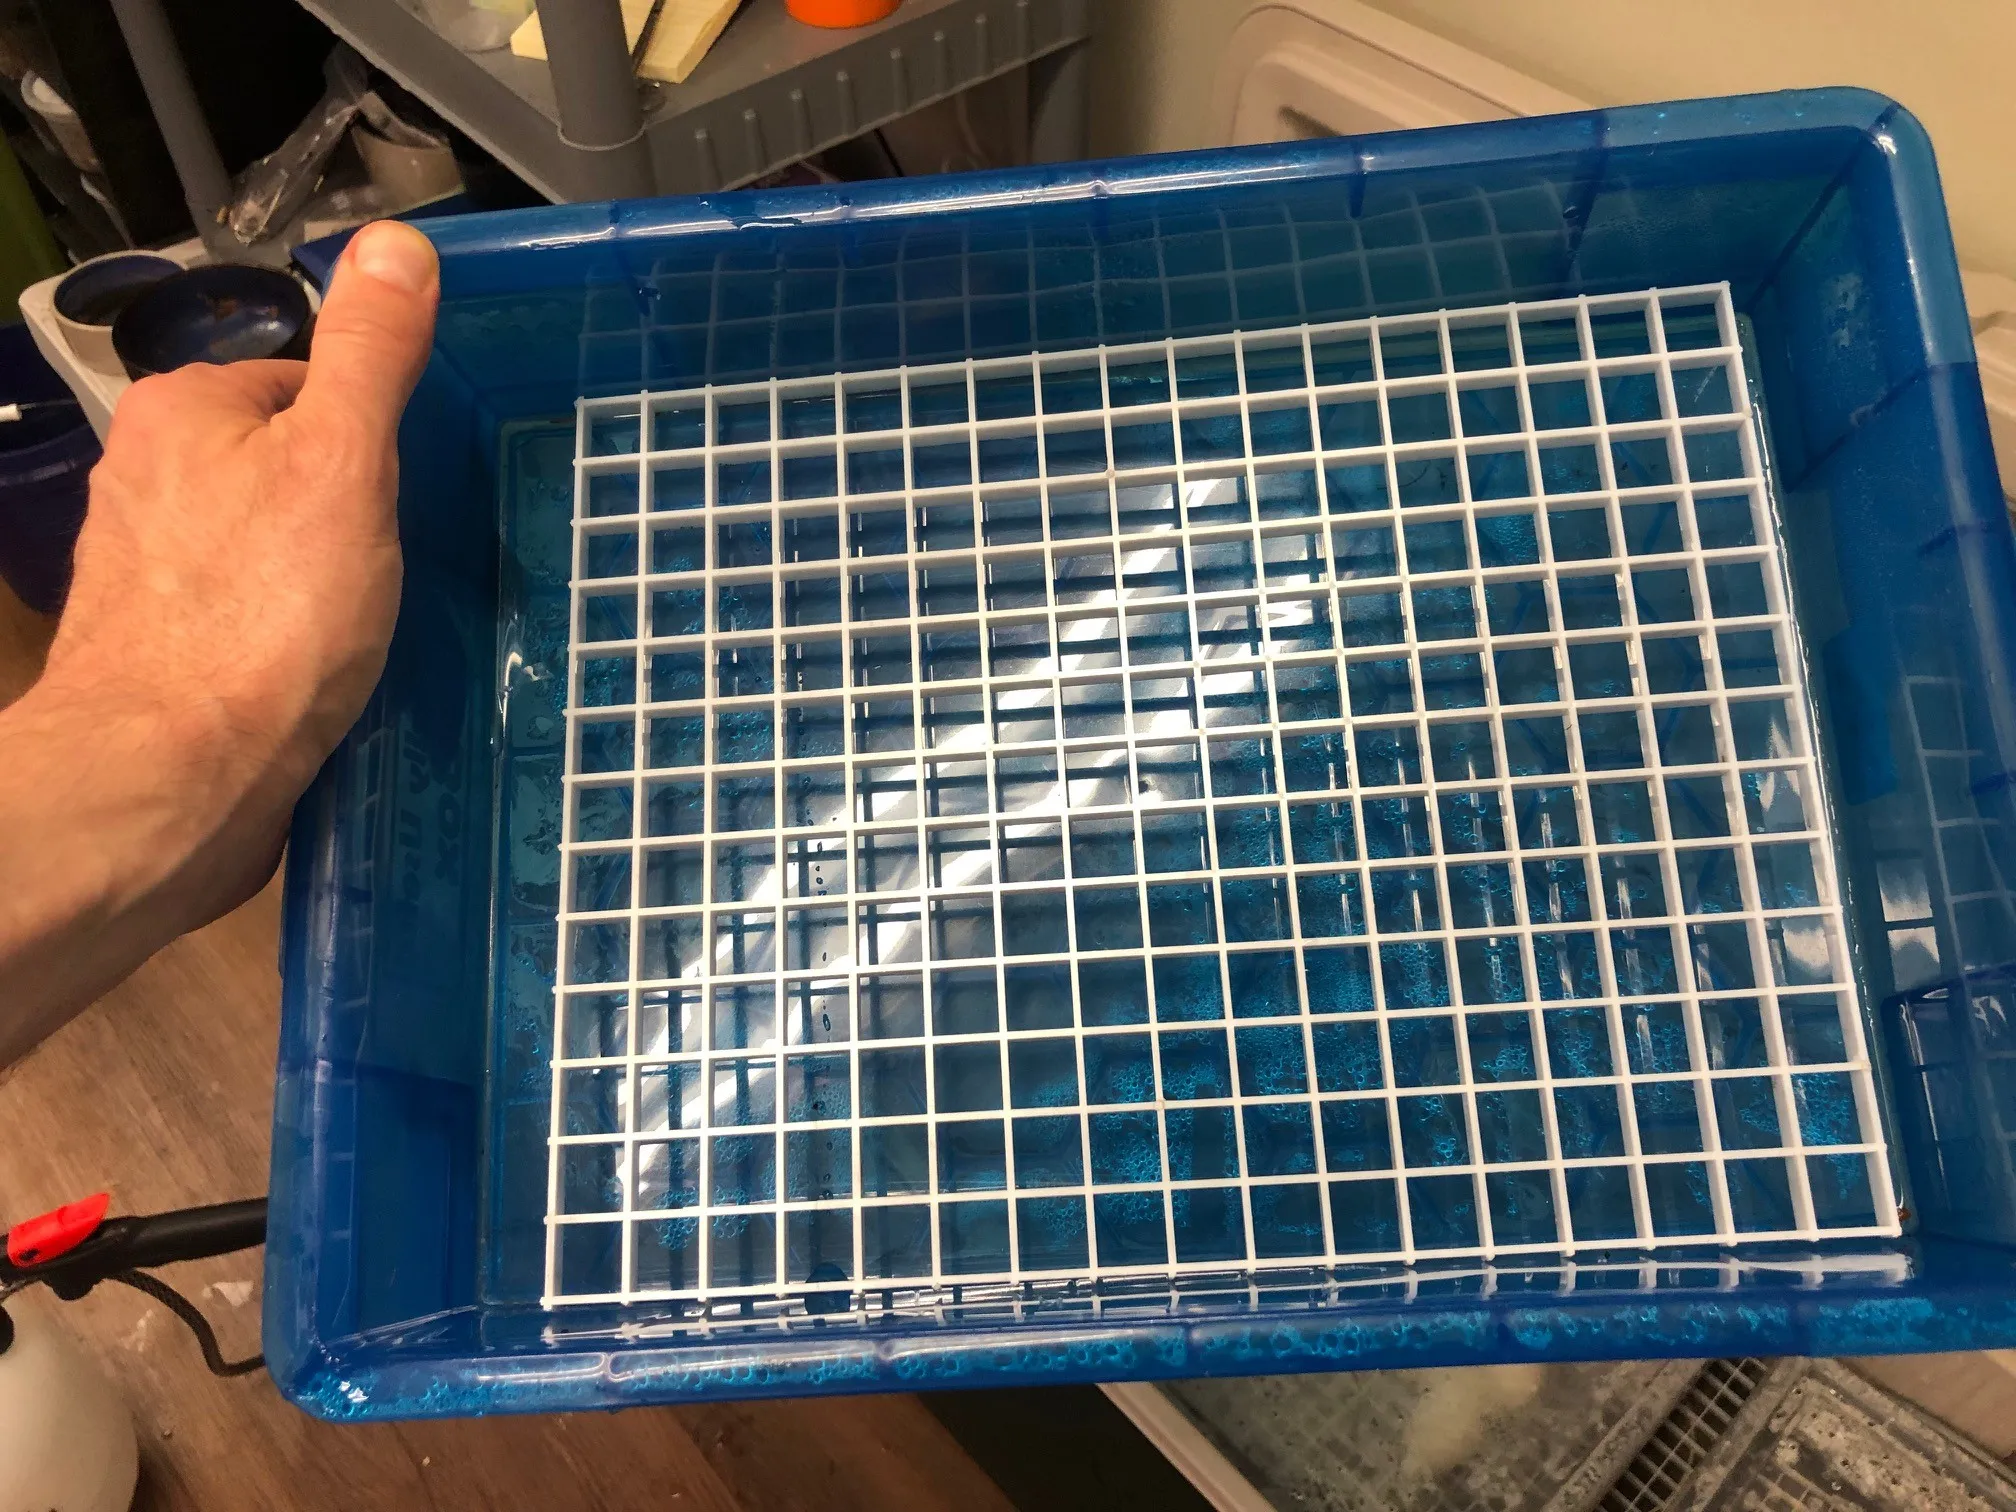
Most tarantula eggs require a consistent temperature range, typically between 75°F and 85°F (24°C and 29°C). The specific ideal temperature varies depending on the species. Avoid temperature spikes or drops, as they can disrupt development or even kill the eggs. The incubator design must provide a reliable heating source and maintain the set temperature. This can be achieved using a heat mat, a ceramic heat emitter, or a small incandescent light bulb. Constant monitoring with a digital thermometer is critical to ensure consistent temperatures and to quickly address any fluctuations. Consider the ambient temperature of the room and use insulation to stabilize the temperature.
Humidity Levels for Tarantula Eggs
Humidity is just as critical as temperature. Tarantula eggs need a humid environment to prevent desiccation. The ideal humidity level usually falls between 70% and 85%, again depending on the species. Too little humidity can dry out the eggs, while too much can promote mold growth. Maintaining proper humidity involves using a hygrometer to monitor levels, providing a water source (such as a small dish), and regulating airflow. The correct humidity level ensures the eggs remain hydrated and can develop properly. Regular misting with distilled water may be required to maintain proper humidity levels, particularly in drier environments.
Materials Needed for Your DIY Incubator
The materials needed for building a DIY tarantula incubator are readily available and affordable. The choice of components will influence both the effectiveness and the ease of use of the incubator. Start with a container, then add a heating source, and don’t forget tools to accurately measure temperature and humidity. Careful selection of materials ensures the incubator is efficient, reliable, and safe for your tarantula eggs. The goal is to use these materials to create a stable and controlled environment.
Incubator Container
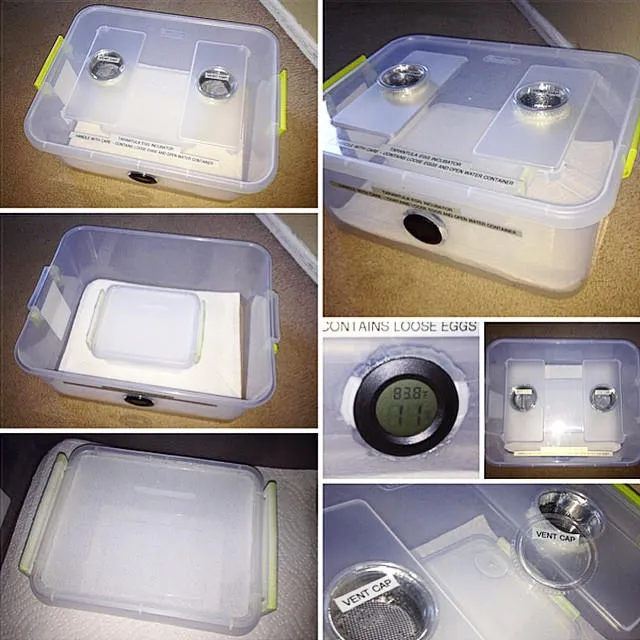
The container forms the primary structure of the incubator. Clear plastic storage boxes with airtight lids are an excellent choice, as they allow for easy viewing of the eggs and provide good insulation. Ensure the container is large enough to accommodate the eggs and all of the other components without overcrowding, allowing for proper air circulation. Consider the size of the container relative to the quantity of eggs you expect to incubate. Alternatively, you can repurpose an old aquarium. Be sure the container is clean, sturdy, and made of a material that will not react with the heating elements or the moisture inside. This will ensure the safety of the eggs.
Heating Source
A reliable heating source is crucial for maintaining the desired temperature. A heat mat designed for reptile enclosures is a popular and safe choice. Place the heat mat on one side or the bottom of the incubator. Alternatively, a ceramic heat emitter or a low-wattage incandescent light bulb can also provide heat. Ensure the heating element is thermostatically controlled to prevent overheating. Proper placement is important to avoid direct contact with the eggs, which could cause damage. The selection of the heating source will affect the performance and energy efficiency of your incubator. Always follow safety guidelines when working with electrical components.
Temperature and Humidity Monitoring Tools
Accurate monitoring of temperature and humidity is vital for success. A digital thermometer with a probe is essential for measuring temperature inside the incubator. A hygrometer is necessary to monitor humidity levels. These tools provide real-time data, allowing you to make adjustments to the incubator’s settings. Position the thermometer probe and hygrometer sensor in the center of the incubator, away from the heating source, to get accurate readings. A data logger is an excellent option to track changes over time. Regular monitoring and data recording will allow you to make the necessary adjustments to optimize the environment for the tarantula eggs.
Building Your DIY Tarantula Incubator
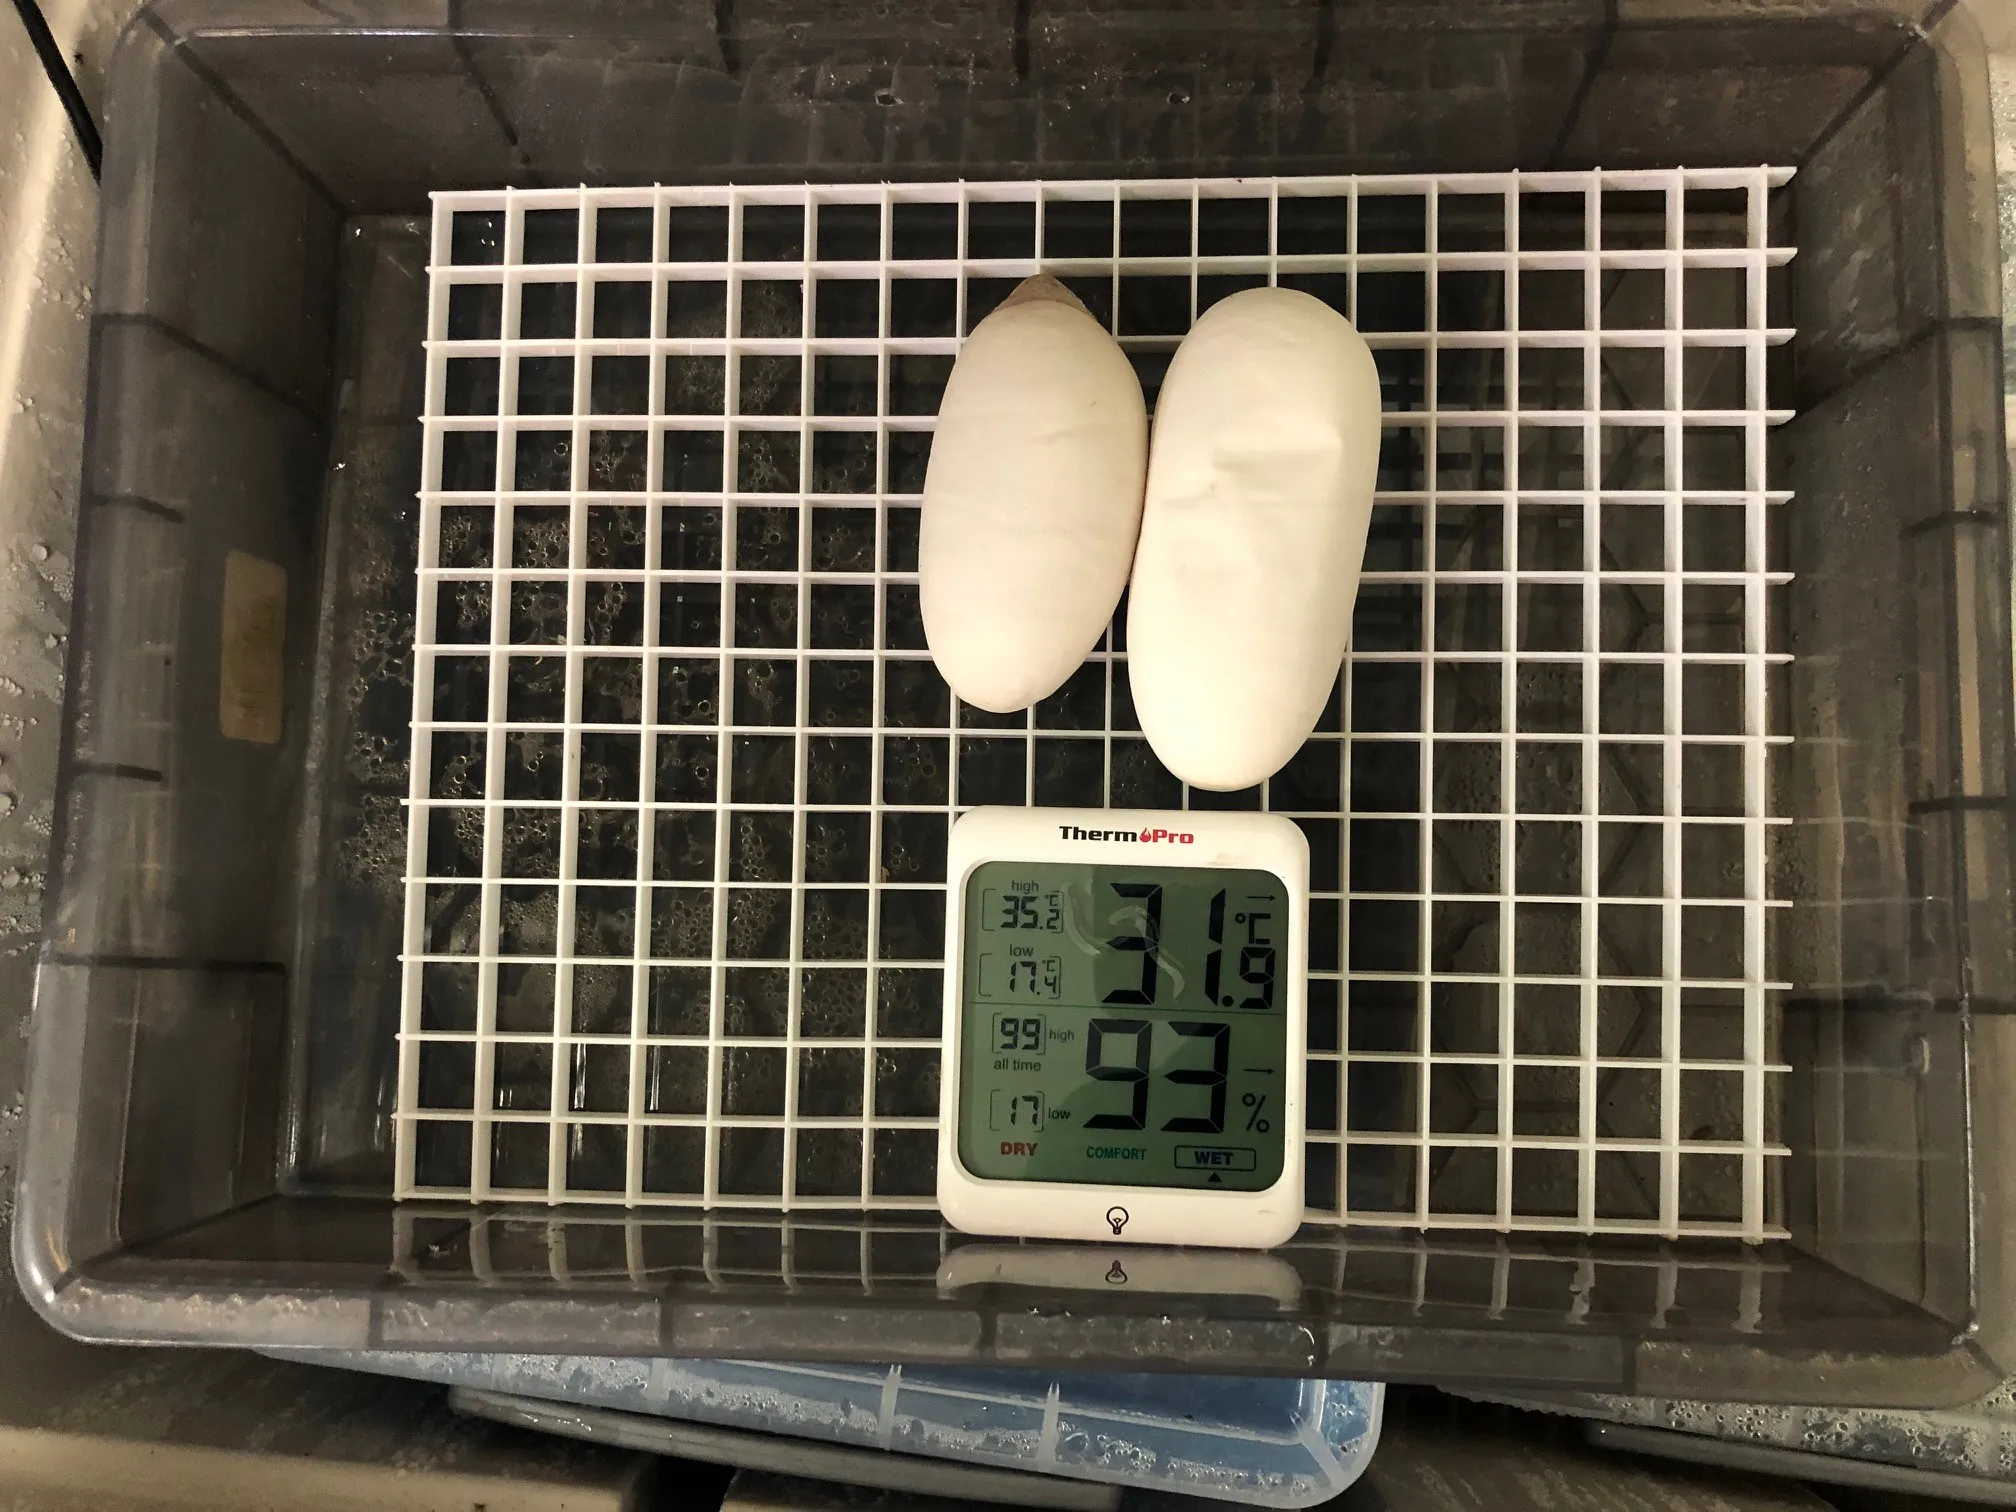
Building your own incubator is a straightforward process. Careful planning and preparation are important to ensure the incubator operates effectively and safely. This requires assembling the necessary materials and following a step-by-step process. A well-constructed incubator provides a stable environment, giving the tarantula eggs the best chance of successful hatching. Follow these steps to ensure the best outcomes for your tarantula eggs. The process can be adapted to meet the requirements of a specific tarantula species, resulting in a customized and effective incubation solution.
Step by step construction guide
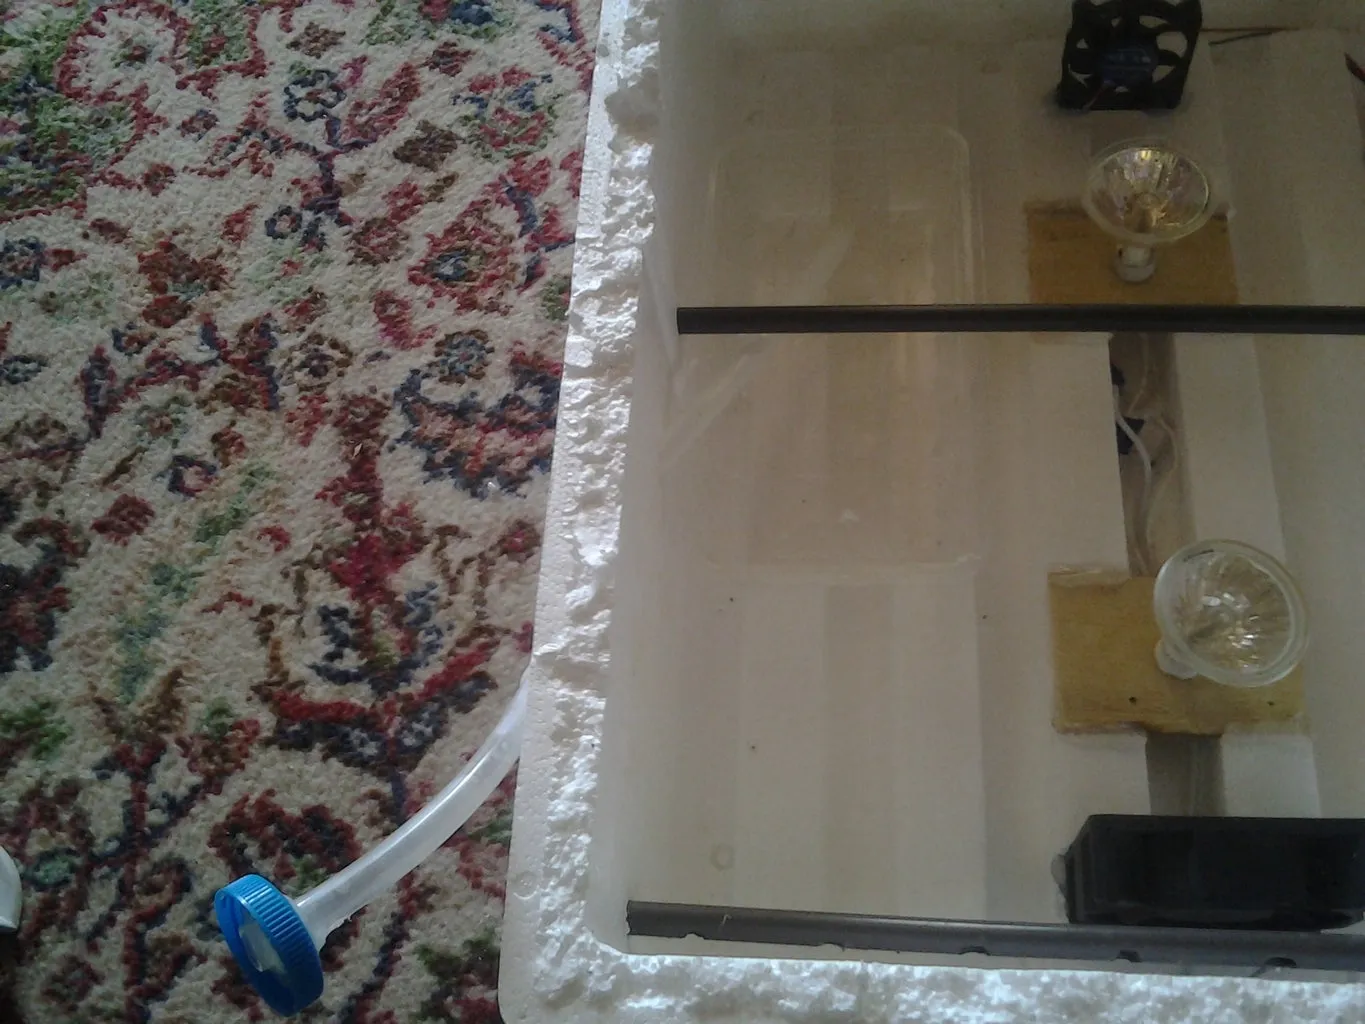
Begin by assembling all the required materials. Clean and prepare the container. If you are using a storage container, drill small ventilation holes near the top of the container, ensuring they are small enough to prevent escapes but large enough to allow airflow. Place the heat mat on the bottom or side of the container, following the manufacturer’s instructions. If using a ceramic heat emitter or light bulb, make sure it’s securely mounted and away from the eggs. Position the thermometer probe and hygrometer sensor inside the container, ideally near the center. Add a small water dish or sponge to help maintain humidity. Seal the container and plug in the heating source, then allow the incubator to stabilize and monitor the temperature and humidity for a few days. Make adjustments as needed. This process ensures that the incubator is properly set up before the eggs are introduced.
Placement of Heating Elements and Sensors
Proper placement of heating elements and sensors is key to an evenly heated and accurately monitored incubator. Position the heat mat on one side of the container, creating a gradient for the eggs. This allows the eggs to move to cooler or warmer areas. Place the thermometer probe and hygrometer sensor away from the direct heat source to ensure accurate readings. Ensure the sensors are not directly touching the eggs. Regularly check the readings to confirm the incubator’s temperature and humidity levels are within the required range. Adjust the placement of heating elements or sensors as necessary to optimize the environment. Proper placement and monitoring ensures the eggs develop in optimal conditions.
Maintaining Optimal Conditions in Your Incubator
Maintaining optimal conditions requires consistent monitoring and adjustments. The incubator needs to be constantly checked for temperature and humidity fluctuations. Minor adjustments may be needed to ensure the environment remains stable and within the required parameters for successful hatching. The goal is to ensure the incubator environment remains stable. Regular observation is essential for noticing any issues. This section details methods to ensure your incubator is a success, protecting and supporting the development of your tarantula eggs.
Monitoring and Adjusting Temperature
Monitor the temperature daily, recording the readings. If the temperature deviates from the ideal range, make adjustments to the heating source. For example, if you’re using a heat mat, adjust the thermostat setting or move the container to a different location. Ensure the thermostat is functioning correctly and calibrated accurately. Regularly inspect the temperature readings to notice and address any temperature swings. The key is to maintain a consistent temperature, as erratic changes can stress the eggs and hinder their development. Continuous monitoring and prompt corrections are crucial for maintaining the temperature and a safe hatching environment.
Controlling Humidity Levels
Controlling humidity is essential. Monitor the humidity levels daily using a hygrometer. If the humidity is too low, add a small water dish or wet sponge to the incubator. Make sure the water source is clean and does not promote mold growth. If the humidity is too high, increase ventilation or use a dehumidifier. Fine-tune the humidity control to remain within the optimal range for the species. Monitor the humidity closely, and make adjustments to maintain the correct levels, which is crucial for proper egg development. Adjustments may be needed based on the ambient humidity of the environment. Remember that consistent humidity is critical.
Ventilation and Airflow Considerations
Proper ventilation is important for preventing mold growth and maintaining air quality inside the incubator. Drill small ventilation holes in the container, ensuring they are not too large to compromise the incubator’s ability to maintain humidity and temperature. Ensure the ventilation is sufficient for air exchange but not excessive. This helps reduce condensation and the risk of mold. Monitor the eggs for signs of fungal growth and adjust the ventilation as needed. Good airflow is important to a healthy environment for the tarantula eggs. The correct balance of ventilation is important for promoting healthy development.
Troubleshooting Common Incubator Issues
Even with careful setup and monitoring, problems can arise. Understanding these common issues will help you address them quickly and effectively. Addressing these common problems promptly can save your tarantula eggs. This section addresses solutions for common issues. The goal is to act proactively when these issues arise, protecting the eggs and maintaining ideal conditions. Regular checks can catch issues early.
Temperature Fluctuations
Temperature fluctuations are a common issue. Check the thermostat to ensure it’s calibrated correctly and functioning properly. If the temperature swings, the heating source may be inadequate or poorly regulated. Consider replacing the heating element with a more reliable one, or adding a backup heating system. Insulate the incubator to stabilize the temperature. Regular monitoring can help identify and correct fluctuations early on, which is critical to the development of your tarantula eggs. Temperature swings can cause harm to the eggs and must be addressed immediately.
Humidity Problems
Humidity issues are another common concern. If the humidity is too low, increase the water source and/or mist the incubator with distilled water. If the humidity is too high, increase ventilation. The goal is to identify and correct any humidity problems. Regularly check humidity levels and make adjustments as needed. Proper humidity control is essential for healthy egg development, and prompt action is required when humidity is out of range. Monitor the hygrometer and make adjustments to correct any issues immediately.
Mold Growth
Mold growth can quickly become a problem in a humid environment. If you see mold, immediately increase ventilation and remove any affected eggs or substrate. Clean the incubator thoroughly with a mild disinfectant. Ensure proper ventilation and do not overcrowd the incubator. Regularly inspect the eggs and the environment for mold growth. Address any issues as quickly as possible. Preventing mold is critical for egg survival. Reduce the risk by ensuring adequate ventilation and regularly inspecting the incubator for any signs of mold.
Tips for Success and Best Practices
Success in tarantula egg incubation comes with meticulous planning and careful execution. Adhering to the following tips and best practices will increase your chances of successfully hatching healthy spiderlings. Taking the time to implement these suggestions will significantly increase the chances of success. This section is dedicated to providing further support and guidance to ensure the best possible outcome. Following these tips ensures you create the ideal conditions for your tarantula eggs.
Choosing the Right Substrate
The substrate in the incubator helps maintain humidity, however, it’s important to choose a suitable one to avoid mold or bacterial growth. Sphagnum moss is a popular choice because it retains moisture well and helps regulate humidity. Vermiculite or perlite are also good options, as they are sterile and provide good drainage. Avoid using substrates that can decompose quickly or harbor mold. Proper substrate selection supports humidity control. Replace the substrate as needed to ensure it remains clean and hygienic. This prevents the potential for mold growth. This is essential for providing a healthy environment for the developing eggs.
Cleaning and Maintenance
Regular cleaning and maintenance is essential for a healthy incubator. Wipe down the interior of the incubator regularly. Clean the water dish and replace the substrate as needed. Monitor the incubator for signs of mold or bacterial growth. A clean incubator ensures that the environment is safe for the eggs. Routine maintenance minimizes potential risks. Regular cleaning keeps the incubator fresh. Consistent maintenance prevents the buildup of harmful microorganisms. This helps to avoid issues that could negatively affect the tarantula eggs. Perform regular checks and take action to keep the incubator clean and operational.
Location and Setup
Place your incubator in a stable location, away from direct sunlight and drafts. Avoid placing the incubator near heat sources or air conditioning vents, which can cause fluctuations in temperature and humidity. Ensure the incubator is accessible for regular monitoring and maintenance. Choose a location where you can easily monitor the conditions inside the incubator. Ensure there is easy access to water and power. Following these location tips will improve incubator performance. The location of the incubator can affect temperature and humidity, so choose wisely.
Building and maintaining a DIY tarantula incubator can be a rewarding experience for any tarantula enthusiast. It provides greater control over the environmental conditions, which ultimately lead to more successful hatch rates. By following the steps outlined in this guide, you can create a stable, safe, and efficient environment for your tarantula eggs. Through careful planning, diligent monitoring, and maintenance, you can give your tarantula eggs the best start possible. Embrace the process, enjoy the learning experience, and you’ll soon be seeing healthy baby spiderlings!
